Friday 31 March 2017

The British Army

My grandfather, John (standing second from left), with other members of his unit
in the British Army during the First World War


For this layout I used Blue Fern Studios papers from their Chesterville collection:


I added some hand stitching and eyelets to the background.


I also did some stencilling on the background with molding paste.  While it was still wet I sprinkled it with brown embossing powder and heat embossed it.

The Crafter's Workshop - Mini Spinning Tops


These are the dies I used:

Spellbinders - Marvelous Squares
Spellbinders - Locking Loops
My Favorite Things - Postage Stamp
Cheery Lynn Designs -
Deutschland  Boutique Stacker A2 Frame
Spellbinders - Sprightly Sprockets


I made the Sprightly Sprockets die-cuts with brown coloured foil.  I sanded them lightly to bring out the embossed details and then rubbed them with Gilders Paste Wax in patina, rust and sandalwood colours.  I also used a bit of the patina wax on some of the other metal embellishments.


The metal flourishes were painted with Vintaj Patina Paints.


I painted and inked the edges of some corrugated cardboard pieces and tucked them under the photo.  


I also added some random patches of Prima Art Stones around the layout.


Thank you so much for taking a look!


Sunday 26 March 2017

Great-Grandfather Bjarni

My Icelandic Great-Grandfather, Bjarni


For this layout I used a piece of 49 and Market paper for the background and some digital papers that I printed up from the now defunct, JenWilsonDesigns.com, for the die-cuts and some punched borders.


49 and Market - Scents of Nature
- Tree of Life (back)


These are the dies I used:

Spellbinders - Grand Decorative Circles One
Spellbinders - Floral Assortment


These are the punches I used:


Martha Stewart - Flourish Lace
Martha Stewart - Crochet Star
EK Success - Scalloped Scallop
EK Success - Abstract Flower


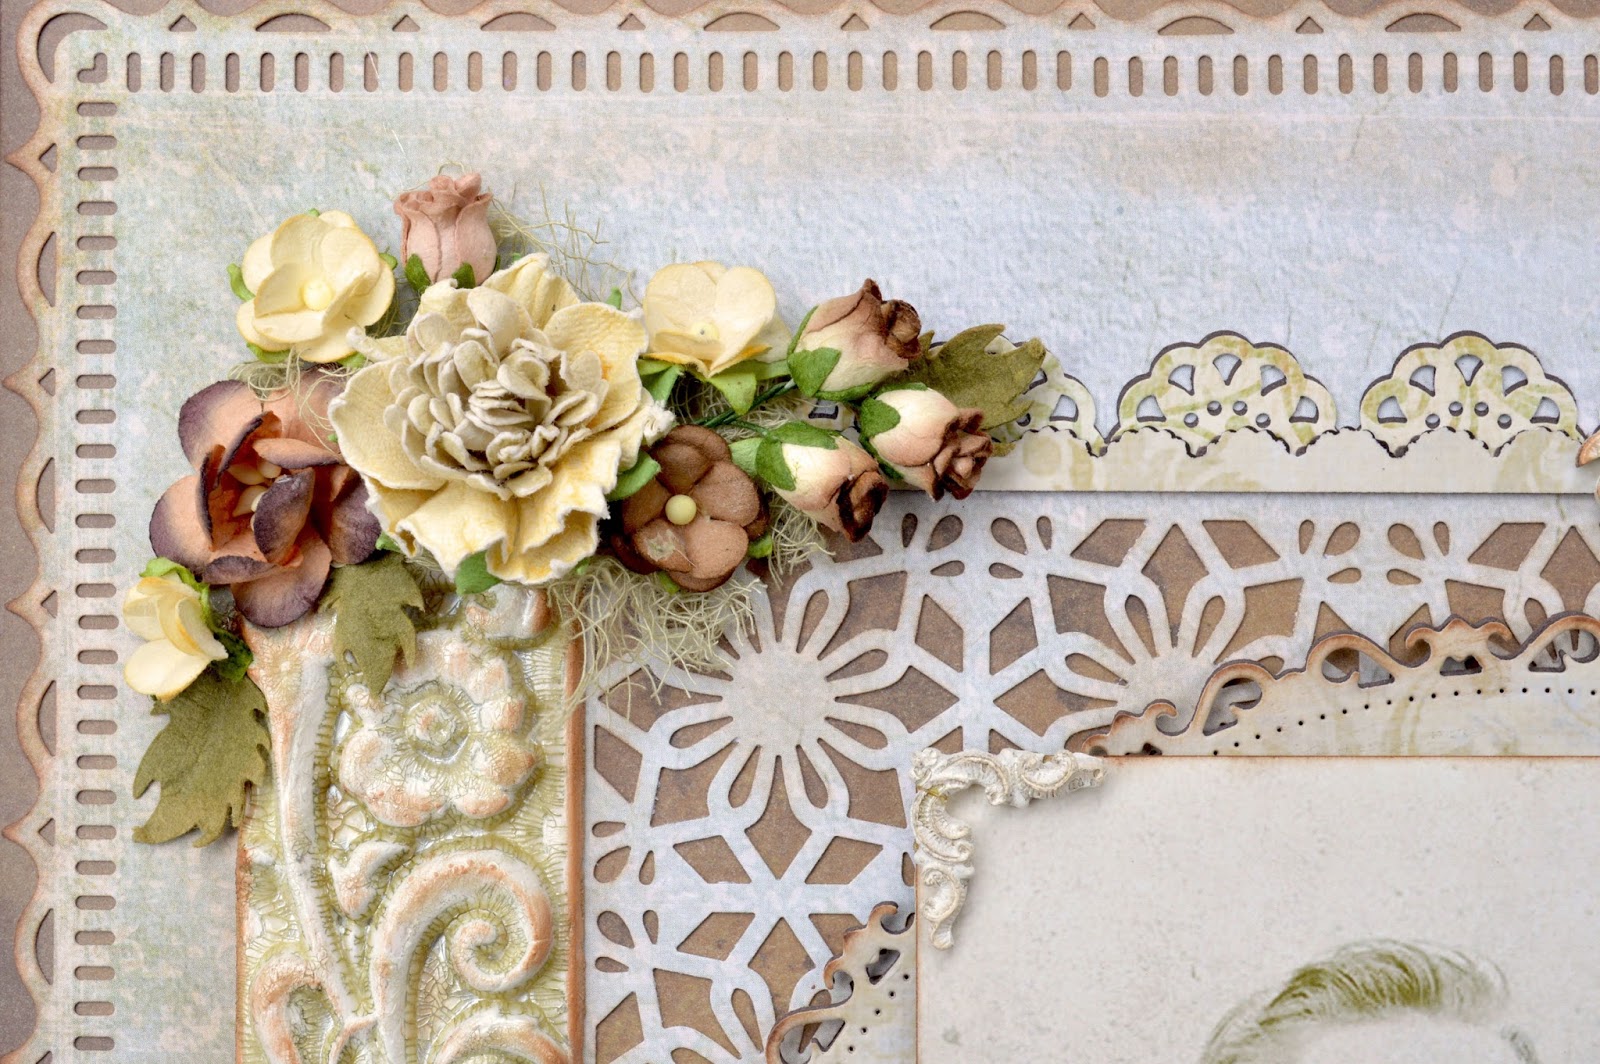
I used Sculpey Ultra Light and molds to make the vertical border on the left and the nameplate.  


Prima - Iron Orchid Designs -  Moulding 1
Prima - Iron Orchid Designs - Object Labels 1


For the letters, I used Premo Sculpey and plastic cutters designed for cutting fondant or sugarpaste. The Sculpey Ultra Light was too soft and would stick to the cutters.  I put the Premo Sculpey through a clay machine multiple times to soften and flatten it before cutting out the letters.


FMM - "Script"  Number and Alphabet
Upper Case Tappits set
FMM - "Script"  Alphabet
 Lower Case Tappits set


I glued the letters onto the nameplate after baking and then painted the nameplate and border piece white.  I applied Rock Candy clear Distress Crackle paint and misted them with Lindy's Stamp Gang Sea Grass Green Starburst spray.  I then applied some Colorbox Chestnut Roan Chalk ink.


I did the same finish for the chipboard flourish in the upper right corner.


Dusty Attic - Corner Flourish #2


The larger flowers are by 49 and Market from their Vintage Shades collection in the Ecru colour.  All the smaller flowers are by Wild Orchid Crafts.


Thank you so much for taking a look!


Wednesday 22 March 2017

John and Elizabeth

My maternal grandparents, John and Elizabeth


For this layout I used two pieces of a TPC Studios paper from their Ancestral collection for both the background and the die-cut mat and doilies.


I did three different machine stitches around the border of the paper.  The first attempt ripped through the paper and I didn't have a spare sheet so I put a little piece of chipboard over the area that was torn and another on the opposite corner to balance the look.


These are the dies and punch I used:


Spellbinders
- Romantic Rectangles 2
Cheery Lynn Designs
- Polynesian Sails Oval
Tattered Lace
- Ornate Leaves
Martha Stewart
- Swirling Lace punch


I layered most of the die-cuts over a darker version to accentuate the edges.  I did not layer the spikey leaves because they were too thin and delicate.

The larger flowers are by 49 and Market from their Vintage Shades collection in the sage colour.


These are the chipboard pieces I used:


Dusty Attic
- deVine Frame Set
Dusty Attic
- Mini Corner #1


I painted the smaller pieces from the deVine Frame Set and then applied a white wash overtop to soften the colour and add dimension.


I applied a white crackle finish to the Mini Corner pieces and rubbed them with brown ink.


The large flourish was made with a mold and Sculpey Ultra Light.  I glued the 3 separate pieces together with Sculpey Bake & Bond before baking.  I then sealed the piece with matte medium and applied a thick layer of Picket Fence Distress Crackle Paint.  When it was dry I brushed it with Prima Parthenay Artisan powder, wiped off the excess and then dragged blue and white paint along the raised areas with my finger.

Prima - Iron Orchid Designs
-Vintage Art Decor Moulds - Large Flourish


Thank you so much for taking a look!